Please start by reading the introduction to Microsoft Teams’ document management. If you decide to create a team for an existing MetaShare workspace, follow these instructions:
- Create a workspace in MetaShare. Ideally you should create the workspace based on a workspace configuration that shows document folders as filters, as a team’s channels will be presented in MetaShare as document folders.
- Open the workspace.
- Open the workspace in SharePoint.
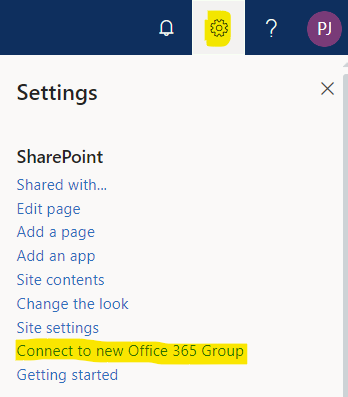
- Click on the “SharePoint Settings” icon and select the ”Connect to new Microsoft 365 Group” option:
- Click on the ”Let’s get started” button:

- Click on the “Connect Group” button:
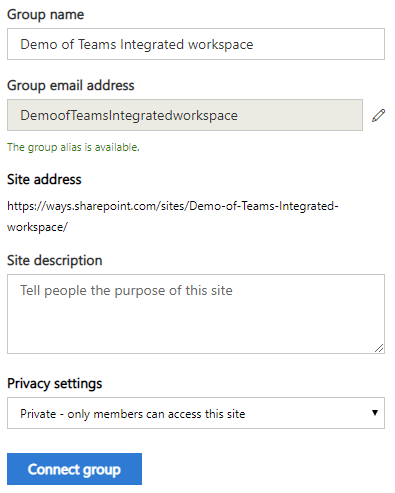
Optionally you can:- Change the proposed group’s name and its e-mail address
- Write a site description (this will be shown in XXX)
- Change the group’s privacy settings (the default setting is “Private – only members can access this site”, the other option is “Public – anyone in the organization can access this site”)
- Add additional owners and members, if needed (any previous users in the site’s owners and members groups will be prefilled in the fields below):

- Additional added members will automatically be added to the workspace’s group for members, in form of the newly created Microsoft 365 group:

- Additional added owners will not be added to the workspace’s group for owners. These users will however be added as owners of the Microsoft 365 group, with permissions to manage its members and they will also be added as site collection administrators of the workspace.
- Users that are added as additional owners/members will get an e-mail message with links to the Microsoft 365 group.
- Additional added members will automatically be added to the workspace’s group for members, in form of the newly created Microsoft 365 group:
- Now go to Microsoft Teams and create a team by clicking on the “Join or create a team” link at the bottom left part of Teams:

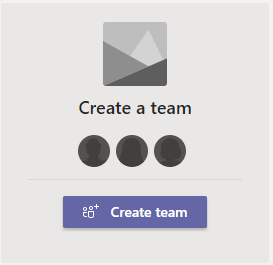
- Click on the “Create team” button:
- Choose the option ”Create from”:
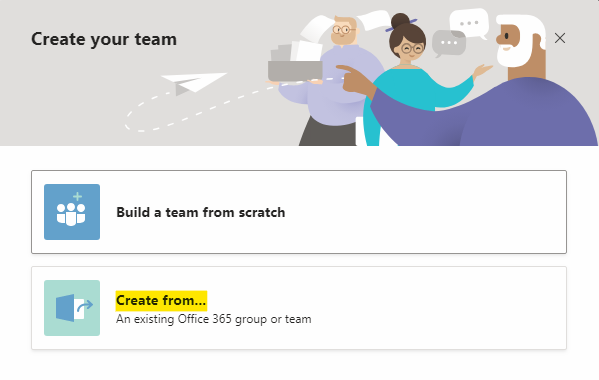
- Select the option “Microsoft 365 group”:

- Select the group that was created for the workspace and click on the “Create” button:

- In the newly created team, you can now manage the team’s permissions:
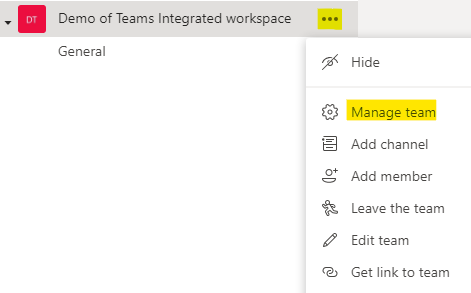
- You can add members to the team by clicking in the “Add members” button:

In the new form, add the users and click on the “Add” button: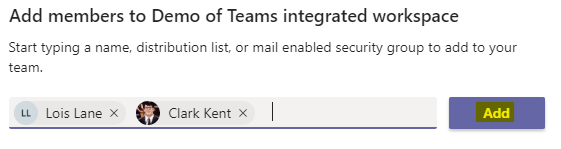
Optionally, you can change the role from “Member” to “Owner” and then click on the “Close” button: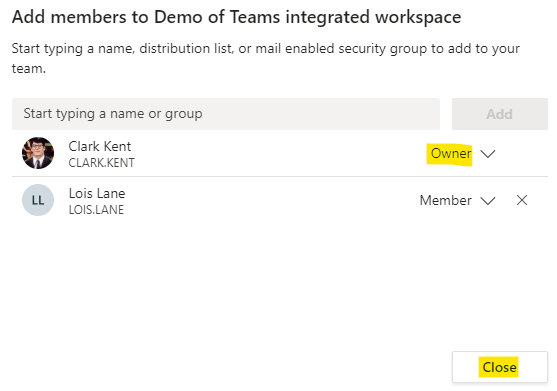
The changes that you do regarding the team’s members and owners are automatically reflected in the Microsoft 365 admin center’s group section, but this interface is not accessible for normal Microsoft 365 users. The changes are also automatically reflected in the members group in the MetaShare workspace:
- The team’s channels:

will automatically be reflected in the corresponding workspace’s “Folder” filter (an exception are the private channels as their information is stored in private SharePoint sites):
Documents that are uploaded to a channels “Files” tab will be shown in the workspace and be filtered on a folder, you will only see the channels specific documents.